Working with Public Repositories
Overview
Teaching: 20 min
Exercises: 15 minQuestions
How can I use Git and GitHub to share my work?
How do I link a local Git repository to GitHub?
How do I move changes between a local Git repository and a GitHub repository?
How do I import, clone, and fork public repositories?
Objectives
create a remote repository on GitHub
link a local Git repository to a remote GitHub repository
examine the difference between an edited file and the file’s most recently committed version
Create a repository on GitHub
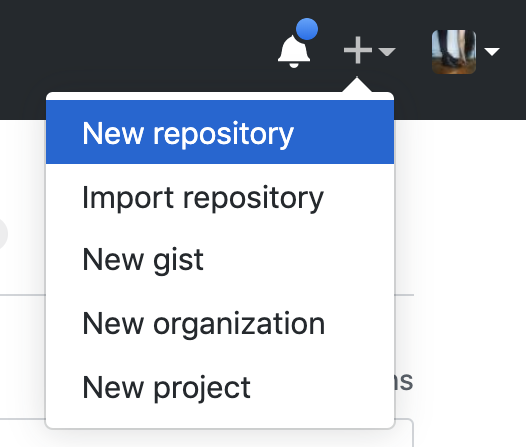
When we have logged in to GitHub, we can create a new repository by clicking the + icon in the upper-right corner of any page then selecting New repository. Let’s do this now.
Create a new repo
- Create a new repository:
- Log-in to GitHub.com.
- Click on + icon on the top right of the site.
- Select ‘New repository’.
- Give it the name
github_username.github.io(replace ‘github_username’ with your GitHub username).- Check the box for ‘Initialize this repository with a README’.
- Press ‘Create repository’.

GitHub will also ask if you want to add a license or a .gitignore file. We do not need to do any of that for now.
Cloning your remote repository
In the previous episode we created a local repository on our own computer and pushed it to a remote repo on GitHub.
Now we’ve created a remote repository on GitHub, but haven’t made a local copy yet. We want to link them together to synchronize them and share our project with the world.
Once we’ve created on new repo on GitHub, we should see a repository containing just our README file. Click the green button called ‘Clone or download’. In the drop-down, click ‘Open in Desktop’.
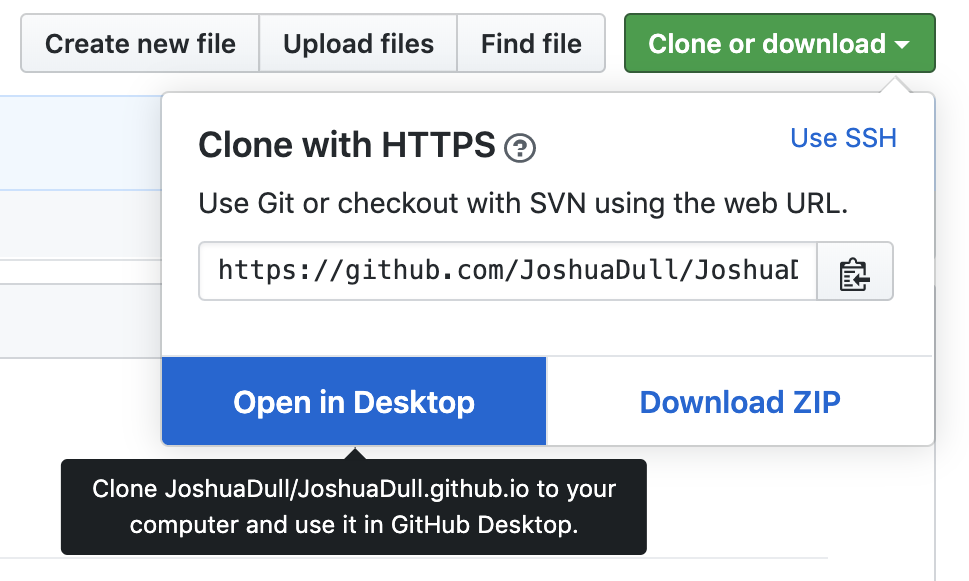
When GitHub Desktop opens, we can change the location of our local repository. When we are ready, select ‘Clone’ and now we have a local copy of the repo we created at GitHub.com.
Working with collaborators
The power of GitHub comes through collaboration. GitHub has several options for collaboration with public repositories. The option you choose below will depend on the nature of your collaboration.
Clone vs. Fork vs. Import
There are three main ways to interact with someone else’s repository: clone, fork, and import.
- Clone - creates a local copy, or clone, of a repo. Your local repo must stay in-sync with the remote repo. Repo owner approves all changes through pull requests.
- Fork - creates a local and remote copy of a repo. You become the owner of the forked repo, but it remains linked to the original repo.
- Import - creates a local and remote copy of a repo that is un-linked from the original.
Forking a public repo
We can clone or fork any public GitHub repo. This will create a local copy of the repo and it’s files. We can edit these files and push the changes back to GitHub. If you aren’t the owner of the repo, you will need to make a ‘pull request’. This alerts the owner that you’ve made changes to the repo. The owner can decide which changes they want to ‘merge’ into the repo or they can reject the ‘pull request’.
Challenge: Fork a repo & create a pull request
Pair up in groups of two (or more if needed) and do the exercises below together.
- Go to https://github.com/github-username/github-username.github.io, where “github-username” is the username of your exercise partner.
- Click on “Fork” in the upper right part of the screen to create a copy of the repository on your account. Once you have a fork of your partner’s repository, you can edit the files in your own fork directly.
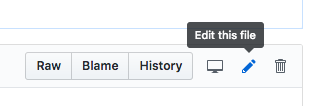
- Click the “README.md” file, then click the edit pencil icon:
- Add some text to README.md. You can also preview how it will look before you commit changes.
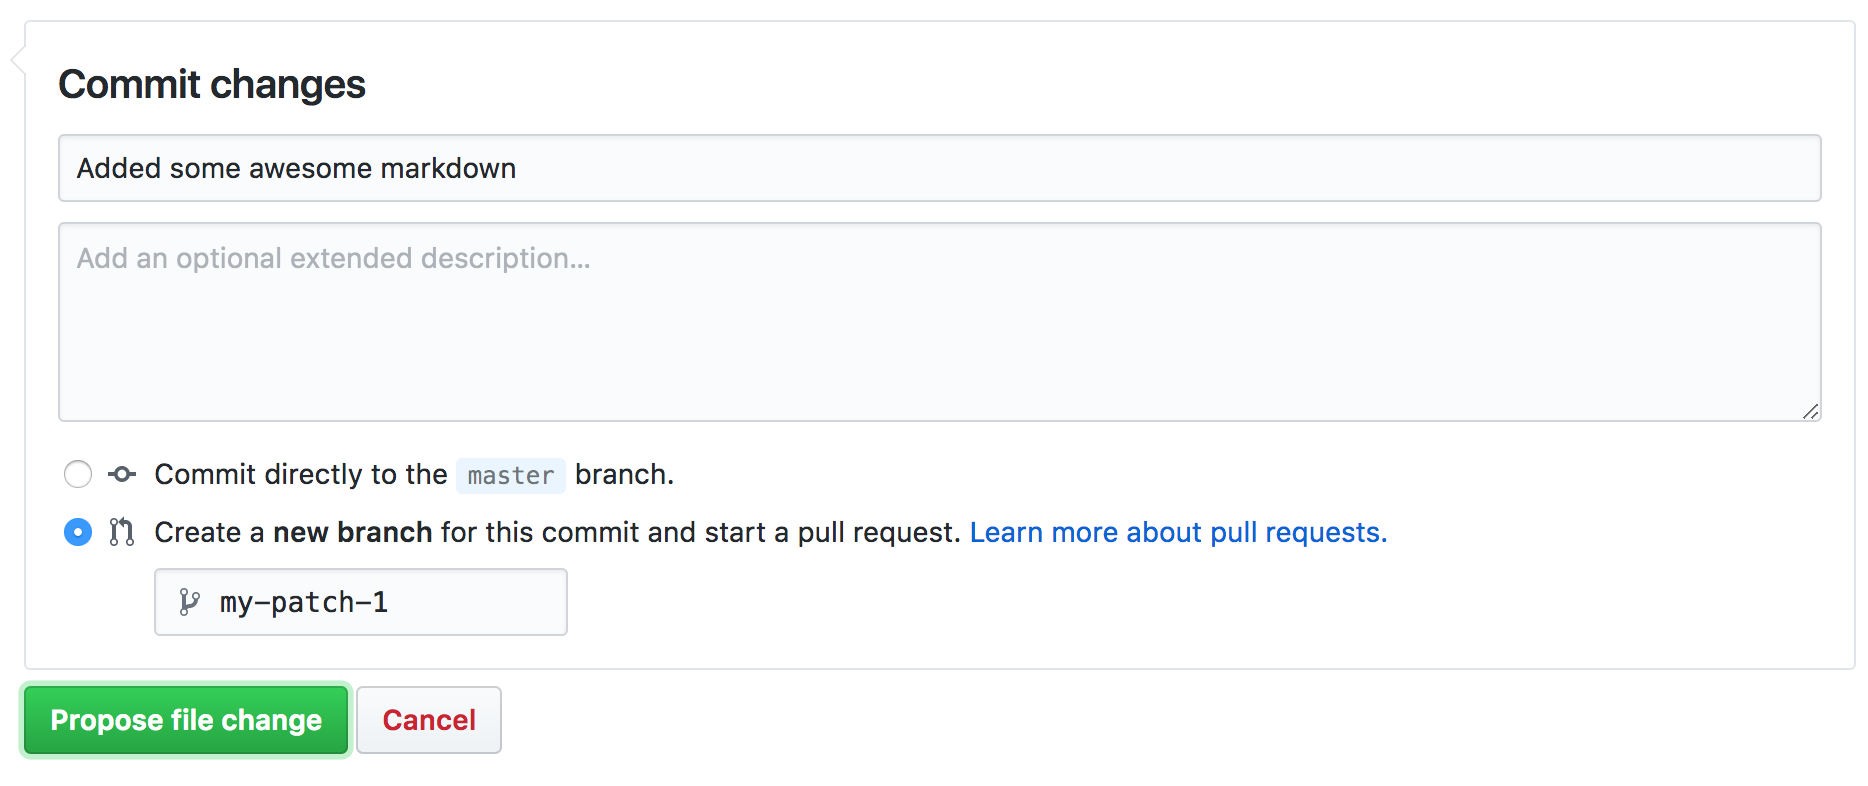
Once you are ready to commit, enter a short commit message, select “Create a new branch for this commit and start a pull request” and press “Propose file change”.
- You will now get the option to review the changes and add an additional explanation before sending the pull request (this is especially useful if you make a single pull request for multiple commits).
- Your partner should now see a pull request under the “Pull requests” tab and can accept (“Merge pull request”) the changes there. Try this.
When we begin collaborating on more complex projects, we may have to consider more aspects of git functionality, but this should be a good start. In the next section, we can look more closely at collaborating and using GitHub pages to create a website for our project.
Key Points
remote repositories on GitHub help you collaborate and share your work